Luxury Vinyl Tile (LVT Flooring) has earned its place as one of the most practical and profitable flooring solutions in today’s market. For contractors, builders, and homeowners alike, it delivers durability, moisture resistance, and design flexibility at a competitive price point.
But even high-quality flooring products can fail if installed incorrectly.
At The Flooring Supply, we work with flooring pros and DIY homeowners across the country, from Flooring in Atlanta to Flooring in Greenville and beyond, who rely on proper installation to protect margins, timelines, and client satisfaction. In this guide, we’ll break down the most common luxury vinyl tile installation mistakes, how to fix them, and how to prevent them from happening on your next project.
Why Proper LVT Installation Matters
Luxury vinyl tile is engineered for performance, but it is not forgiving when shortcuts are taken. According to data from the Resilient Floor Covering Institute (RFCI), the majority of flooring failures are installation-related rather than product-related. Industry estimates suggest that over 70% of resilient flooring claims stem from improper subfloor preparation or moisture issues.
In other words, installation quality directly affects:
- Long-term durability
- Warranty protection
- Customer satisfaction
- Contractor profitability
Whether you are installing LVT Flooring in a new build in Greenville or remodeling a home in Atlanta, avoiding these mistakes protects both your reputation and your bottom line.
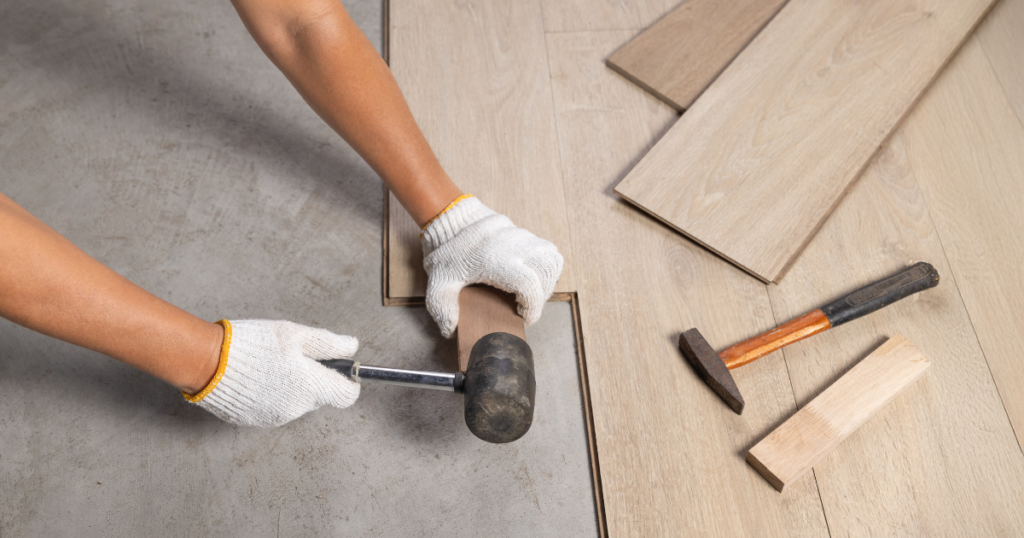
1. Skipping Proper Subfloor Preparation
The Problem
One of the most common causes of LVT failure is inadequate subfloor prep. Luxury vinyl tile requires a flat, clean, and structurally sound substrate. Even small imperfections can telegraph through the surface over time.
The ASTM F710 Standard Practice for Preparing Concrete Floors outlines the importance of smoothness, cleanliness, and dryness before installation. Ignoring these standards leads to:
- Visible surface irregularities
- Adhesive failure
- Premature wear
- Locking system damage
How to Fix It
If you notice lippage, hollow spots, or uneven joints after installation:
- Remove affected tiles.
- Grind down high spots.
- Use a cementitious patching compound to fill low areas.
- Reinstall following the manufacturer’s specifications.
How to Prevent It
- Use a straightedge to confirm flatness within 3/16 inch over 10 feet (or manufacturer requirement).
- Vacuum thoroughly to remove dust.
- Never assume a new slab is ready without inspection.
2. Ignoring Moisture Testing
The Problem
Concrete slabs release moisture for months after pouring. If moisture levels exceed acceptable limits, adhesives can break down and locking systems can weaken.
The ASTM F2170 In-Situ Relative Humidity Test and ASTM F1869 Calcium Chloride Test are industry standards for measuring moisture vapor emission.
Skipping this step is especially risky in humid regions like the Southeast, including Atlanta and Charlotte.
How to Fix It
If tiles are lifting or the adhesive is failing:
- Remove affected sections.
- Conduct moisture testing.
- Install a moisture mitigation system if necessary.
- Reinstall using the appropriate adhesive.
How to Prevent It
- Always test moisture levels, even on “dry” slabs.
- Follow manufacturer limits precisely.
- Use moisture barriers where required.
3. Not Allowing Proper Acclimation
The Problem
Luxury vinyl products expand and contract slightly with temperature changes. Installing LVT directly from a cold truck or hot warehouse can lead to:
- Gapping
- Buckling
- Joint separation
Manufacturers typically recommend 48 hours of acclimation in the installation environment.
How to Fix It
If gapping occurs shortly after installation:
- Remove affected planks or tiles.
- Allow materials to acclimate properly.
- Reinstall, ensuring room temperature is stable (usually between 65–85°F).
How to Prevent It
- Store materials flat.
- Maintain HVAC operation before, during, and after installation.
- Avoid installing in spaces without climate control.
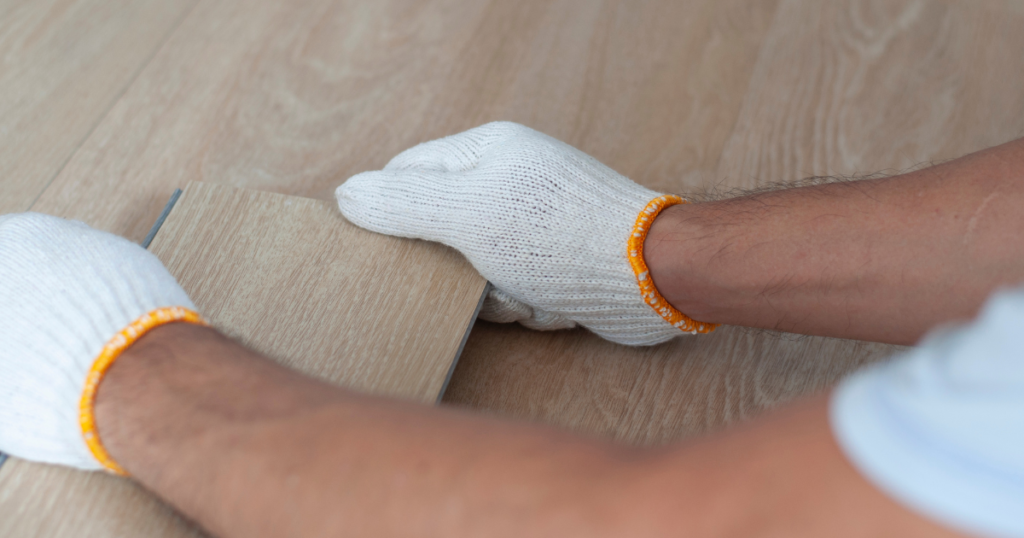
4. Improper Layout Planning
The Problem
Poor layout planning leads to narrow cuts at walls, inconsistent grout lines (for glue-down LVT), or awkward transitions between rooms.
This is particularly noticeable in high-visibility areas such as kitchens and open floor plans.
How to Fix It
If the layout imbalance is visible:
- Remove rows starting from the wall.
- Recenter the layout to balance cuts.
- Reinstall with a more symmetrical starting point.
How to Prevent It
- Dry-lay the first several rows.
- Measure both ends of the room before committing.
- Avoid cuts less than 2 inches wide where possible.
Professional installers understand that layout precision enhances perceived quality, especially when selling Best Value Flooring to discerning homeowners.
5. Incorrect Adhesive Use (Glue-Down LVT)
The Problem
Using the wrong adhesive or applying too much or too little causes bond failure.
The RFCI and adhesive manufacturers emphasize the importance of open time, trowel size, and coverage rates.
Common issues include:
- Tiles shifting
- Adhesive oozing through seams
- Hollow spots
How to Fix It
- Remove improperly bonded tiles.
- Scrape old adhesive.
- Reapply with the correct trowel notch size.
- Allow proper flash time before placement.
How to Prevent It
- Follow adhesive manufacturer guidelines.
- Replace worn trowels.
- Do not rush open time.
6. Failing to Maintain Expansion Gaps
The Problem
Even click-lock LVT Flooring requires perimeter expansion gaps. Blocking those gaps with tight baseboards or cabinetry causes buckling.
This is common in DIY installs.
How to Fix It
- Remove baseboards.
- Trim back flooring edges to allow proper expansion.
- Reinstall the trim without pinching the floor.
How to Prevent It
- Maintain recommended expansion spacing (often 1/4 inch).
- Use spacers consistently.
- Never fasten flooring to the surface.
7. Poor Transition Planning
Luxury vinyl tile often meets other materials, such as tile or Engineered Hardwood. Without proper transitions:
- Height differences become tripping hazards.
- Edges chip or separate.
- The installation looks incomplete.
How to Fix It
- Install appropriate transition strips.
- Use reducers or T-moldings where necessary.
- Ensure secure fastening to prevent movement.
How to Prevent It
- Measure finished floor heights before installation.
- Order matching transitions with your flooring material.
- Plan transitions during the layout phase.
8. Rushing the Job
Time pressure leads to:
- Skipped moisture tests
- Incomplete prep
- Improper adhesive cure times
According to industry contractor surveys, rework due to installation errors can cost up to 15% of project profit.
For professionals focused on profit margins, especially those sourcing Wholesale Flooring or Discount Flooring, avoiding callbacks is critical.
Prevention Strategy for Contractors
- Build prep time into bids.
- Educate clients on curing timelines.
- Avoid overlapping trades during adhesive cure periods.
Industry Innovation and Installation Standards
Modern LVT Flooring has evolved significantly. Enhanced locking systems, thicker wear layers, and improved backing technologies make today’s products more durable than earlier generations.
However, innovation does not eliminate the need for standards.
The ASTM F1700 classification system defines performance levels for solid vinyl tile, including thickness and wear-layer durability. Understanding product classifications helps contractors select the Best Flooring for each environment.
Higher wear layers may improve scratch resistance, but installation precision remains the determining factor in long-term performance.
The Business Case for Getting Installation Right
For contractors and flooring professionals, correct installation supports:
- Reduced warranty claims
- Fewer callbacks
- Stronger referrals
- Improved online reviews
In competitive markets like Flooring in Greenville or Flooring in Atlanta, reputation drives repeat business.
Homeowners investing in high-quality flooring expect professional results. Installation excellence reinforces perceived value and protects resale appeal.
Choosing the Right Materials from the Start
Many installation issues begin with the use of inconsistent or low-grade materials. Reliable sourcing ensures:
- Uniform locking systems
- Stable core construction
- Accurate manufacturing tolerances
At The Flooring Supply, professionals and homeowners can access carefully selected LVP, LVT, and Engineered Hardwood options, all of which are shipped nationwide. With a growing home base in Greenville and strong ties to Atlanta and Charlotte markets, the company supports contractors seeking dependable supply chains and Best Value Flooring options.
Quality materials, paired with proper installation, create durable results.
Final Installation Checklist
Before closing out any LVT project:
- Confirm subfloor flatness
- Verify moisture levels
- Allow full acclimation
- Double-check expansion gaps
- Inspect transitions
- Review adhesive cure time
A disciplined checklist reduces costly errors.

Protect Your Flooring Investment with the Right Approach
Luxury vinyl tile offers durability, design flexibility, and a strong return on investment, but only when installed correctly. Most failures stem from preventable mistakes.
Whether you are a contractor building your flooring business or a homeowner upgrading your space, taking the time to follow industry standards protects both performance and profit.
If you are sourcing high-quality flooring or seeking dependable Wholesale Flooring options backed by professional insight, explore https://theflooringsupply.com/ to find materials designed to perform as they should when installed properly.